Exploring different CD printing methods
Exploring different CD printing methods
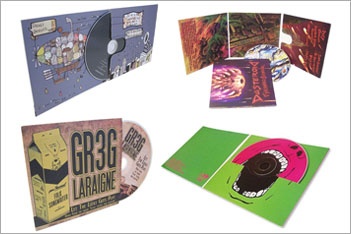
Discs are printed for their aesthetic value by extending the design, style and look of the rest of the CD packaging.
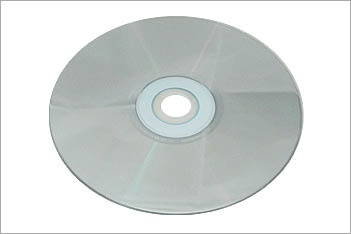
If a disc is not printed, then it would remain pure silver on both sides. This creates issues in that it wouldn’t be obvious which way around the CD should be inserted into the player/drive, and it would be difficult differentiating one disc from another.
There are several print methods used for BD, DVD or CD printing. These are, in no particular order, printed CD labels, lithographic (offset) print, screen print, inkjet print, and thermal print. No one particular print method can be considered the ‘best’, but depending on the quantity, design and turnaround of the project, there is usually one option that would be most suitable and most economical.
CD Labels
CD labels are sticky paper labels, which are usually on perforated A4 sheets so they can be printed on a conventional home printer. Once the paper label is printed with the design, the protective backing paper is removed, and then the label is adhered to the top side of the CD, DVD or blu-ray.
Disc Wizards do not provide CD labels, as the method is more suited for the home enthusiast wanting to create discs which are more personalised than just writing to the surface with a permanent marker pen.
Apart from not looking quite the part, the other problem that CD labels can cause is to do with the balance of the disc. If the label is placed off-centre, or contains air bubbles, then it can cause problems with playability, and possible damage to the CD player, as the disc will not spin correctly due to being imbalanced when spun at high revolutions.
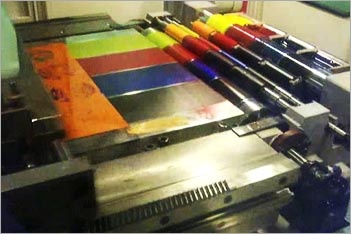
Lithographic offset print

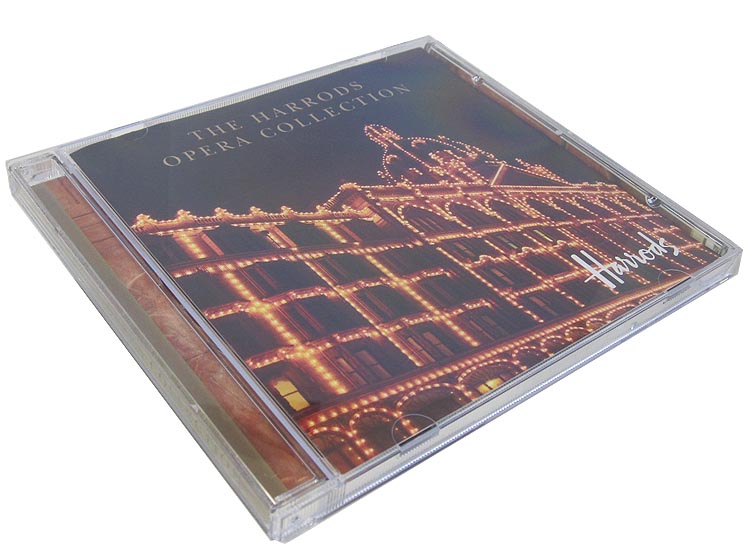
Lithographic print is considered industry standard, or the de facto printing method, for a high volume of discs.
The method involves the creation of printing plates, which can be traditionally created from photographic negatives and processed by bathing in chemicals, or directly from computer to the plating machine, known as a CTP process (Computer To Plate).
The plates are then imposed onto rubber blanket cylinders inside the printing machinery. This is where the term offset comes from, offsetting the plate imagery onto the cylinders. These cylinders then apply each separate colour (usually four colours comprising of cyan, magenta, yellow and black, known as CMYK for short) onto the print side of the disc.
Most companies are unable to print lithographically for a small quantity, as lithographic offset printing is usually associated with a CD or DVD pressing of 1000 units or more. At Disc Wizards we print all our discs, which are on a standard turnaround, in litho offset. This includes offset printing even for a small quantity, starting from 100 units.
By printing the disc using litho offset, a short run CD duplication project will be indistinguishable in print quality from a larger pressing.
Silkscreen printing
Silkscreen printing is known as screen printing for short.
The basic principle of screen printing is the passing of ink through a screen or mesh. This mesh is stretched onto a frame, along with a stencil or outline of the print. The open parts of the stencil let ink flow through and this is what is printed on to the disc.
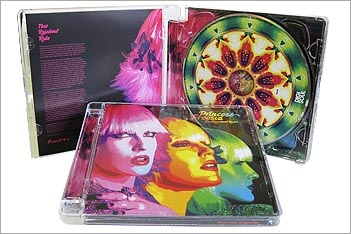
Screen printing is usually up to a four colour process and is suited to a CD design that uses solid colours.
If a CD design uses colour gradients, or has photographic elements, then the final screen printed disc can appear grainy . In this instance the CD should be printed in litho rather than screen.
The screen process can create a much deeper and solid print of a single colour than what we can achieve with litho offset print. For screen printing, the disc design needs to be supplied with all parts in vector format; therefore each element can be precisely separated resulting in a crisp print finish and defined edges for text and blocks of colour.
Inkjet printing
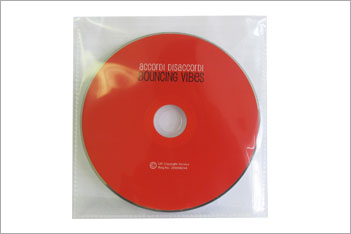
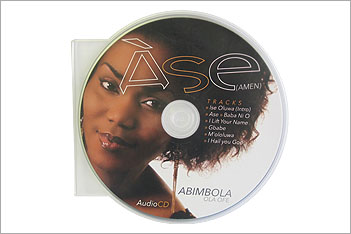
Inkjet printing of CDs, DVDs and blu-ray is very cost efficient for small quantities of discs.
Suited for a variety of design styles from photographic to solid colour, inkjet printing is popular due to its versatility.
This type of printing uses the same principles and technology as a home inkjet colour printer.
The print of an inkjet printed disc is not completely water resistant, and can smudge if the disc comes into contact with liquid. To avoid this, some companies offer a lacquer or varnish on the disc to offer protection to the print. Alternatively, printable discs with water-shield technology are available which seal in the print and protect the disc from splashes.
Although the speed of print is quite slow, (about 60 seconds for a full colour CD), the advantage of inkjet is that it can be printed very fast directly from a computer to the printer (rather than going through several processes as in litho or screen). This means the discs can be ready quicker compared to printing them in litho or screen.
All discs on standard turnaround are printed in either litho or screen. If a faster turnaround is required then it is achieved using inkjet printing on an express turnaround.
Thermal printing
As with inkjet printing, thermal printing has a quick start-up time. It can be sent directly from the computer to the print machinery.
Thermal printing uses ink or transfer ribbons passed below a printing head, which is heated to enable the transfer of ink from the ribbon to the disc.
Thermal printing ensures the disc is waterproof, so it does not require additional processes, unlike inkjet printing.
Thermal printing is more expensive per unit compared to inkjet, although if a design is solid colours and very dark, then thermal will produce a much better result compared to inkjet.
With inkjet and thermal printing, there are no economies of scale to be realised, and therefore the cost per unit does not decrease by much once the quantity reaches about 500 units. Therefore both methods are suited for when small quantities are required in a fast time.
So what is the best printing method?
By far the most professional looking printing is either litho or offset. We are one of the few companies that can offer this technology for small quantities such as 100 units. The final disc print is retail ready quality and the same as other CDs, DVDs and blu-ray you will find in stores.
If you require the discs to be turned around in a short spell of time, then inkjet and thermal printed discs are the preferred option, due to the speed of set up and the very fast turnaround.
The rule is to allow sufficient time for the printing of your disc, to achieve an industry quality print, and at the most reasonable cost.
Exploring different CD printing methods Examining the different options available for printing onto a CD, DVD or Blu-ray disc. Discs are printed for their aesthetic value by extending the design, style and look of the rest of the CD packaging. If a disc is not printed, then it would remain pure silver on both sides. …


